Last updated November 18, 2026



Free written scope consultation - allowances, timeline, and change-order rules on paper before a single trade is scheduled
Driveway & Pavers Maintenance Checklist for North Las Vegas Homeowners
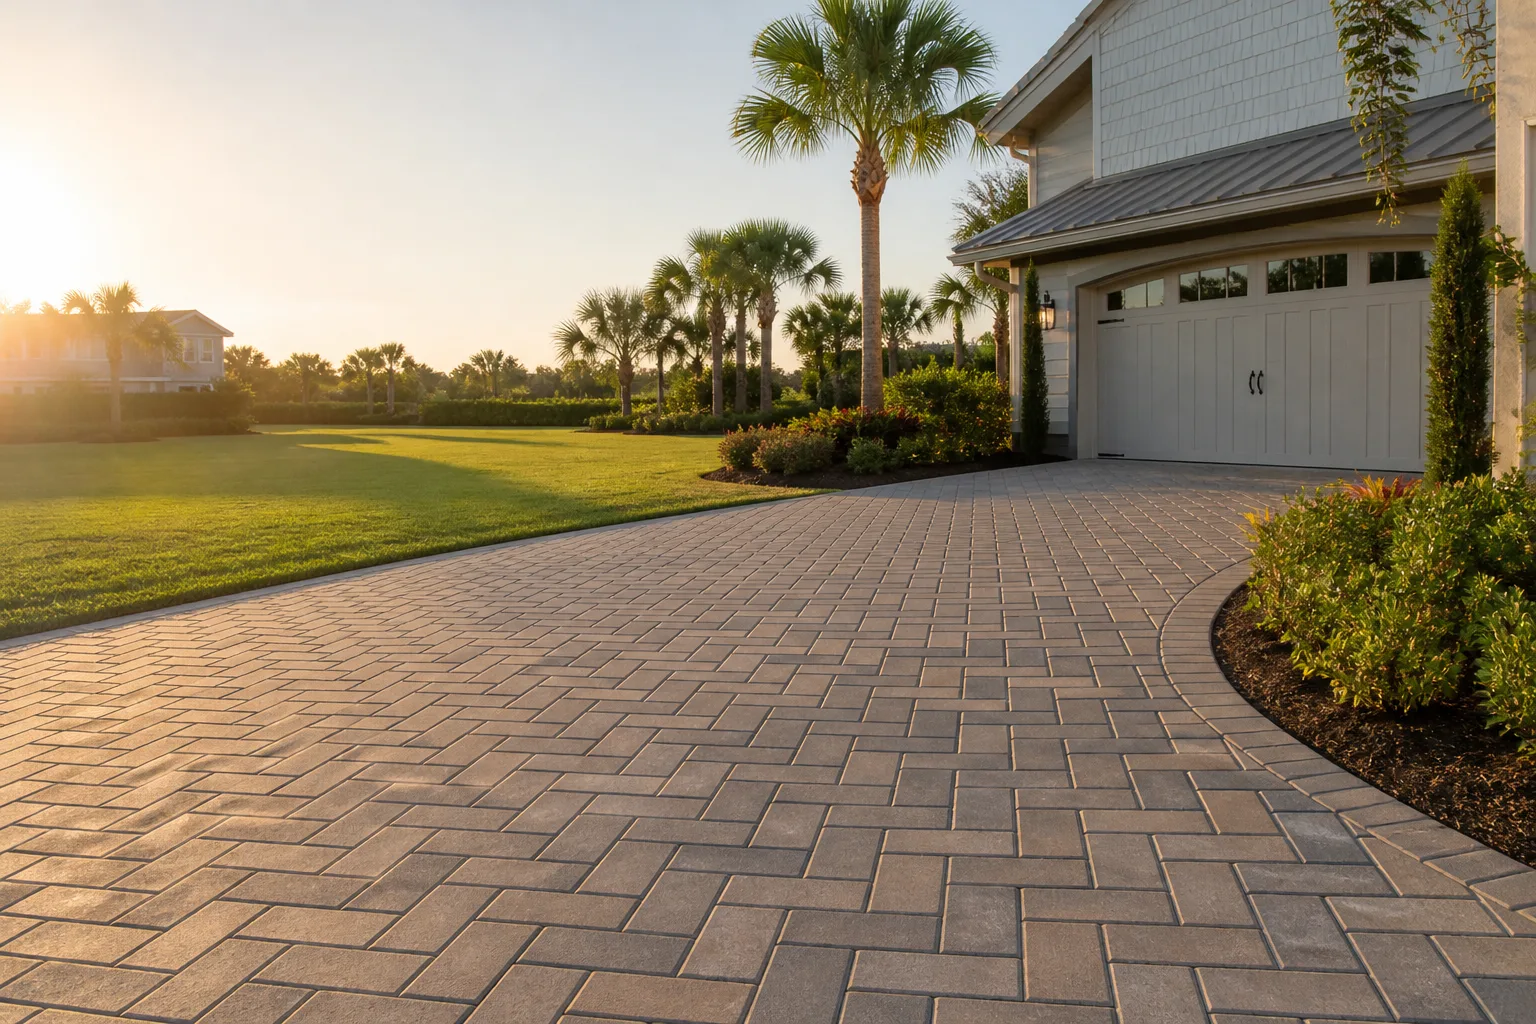
Concrete pavers in the Las Vegas Valley can reach surface temperatures above 150°F in July. That’s hot enough to accelerate joint sand breakdown and powder out polymeric sand within two seasons if the wrong product went in at installation. Most maintenance advice you’ll read was written for a mild four-season climate, so it misses the part that actually matters here: a punishing cycle of extreme summer heat, occasional hard January freezes, and blowing alkaline caliche dust that etches and stains unsealed surfaces year-round. This guide gives North Las Vegas homeowners a task-by-task calendar built around that specific abuse, plus the visual cues that tell you when a touch-up is enough and when the pavers need professional re-bedding.
Quick Answer
Paver driveways in North Las Vegas need joint sand topped up or replaced every one to three years, a UV-stable sealer reapplied roughly every two to three years, and a quick inspection after every hard freeze and monsoon blow. Sweep, rinse, and check the low spots monthly in summer. The single biggest factor in how long a driveway holds up is which polymeric sand and sealer were used at installation, because generic products fail fast in this heat.
Styles & brands we work with
- Kitchen remodeling
- Bathroom remodeling
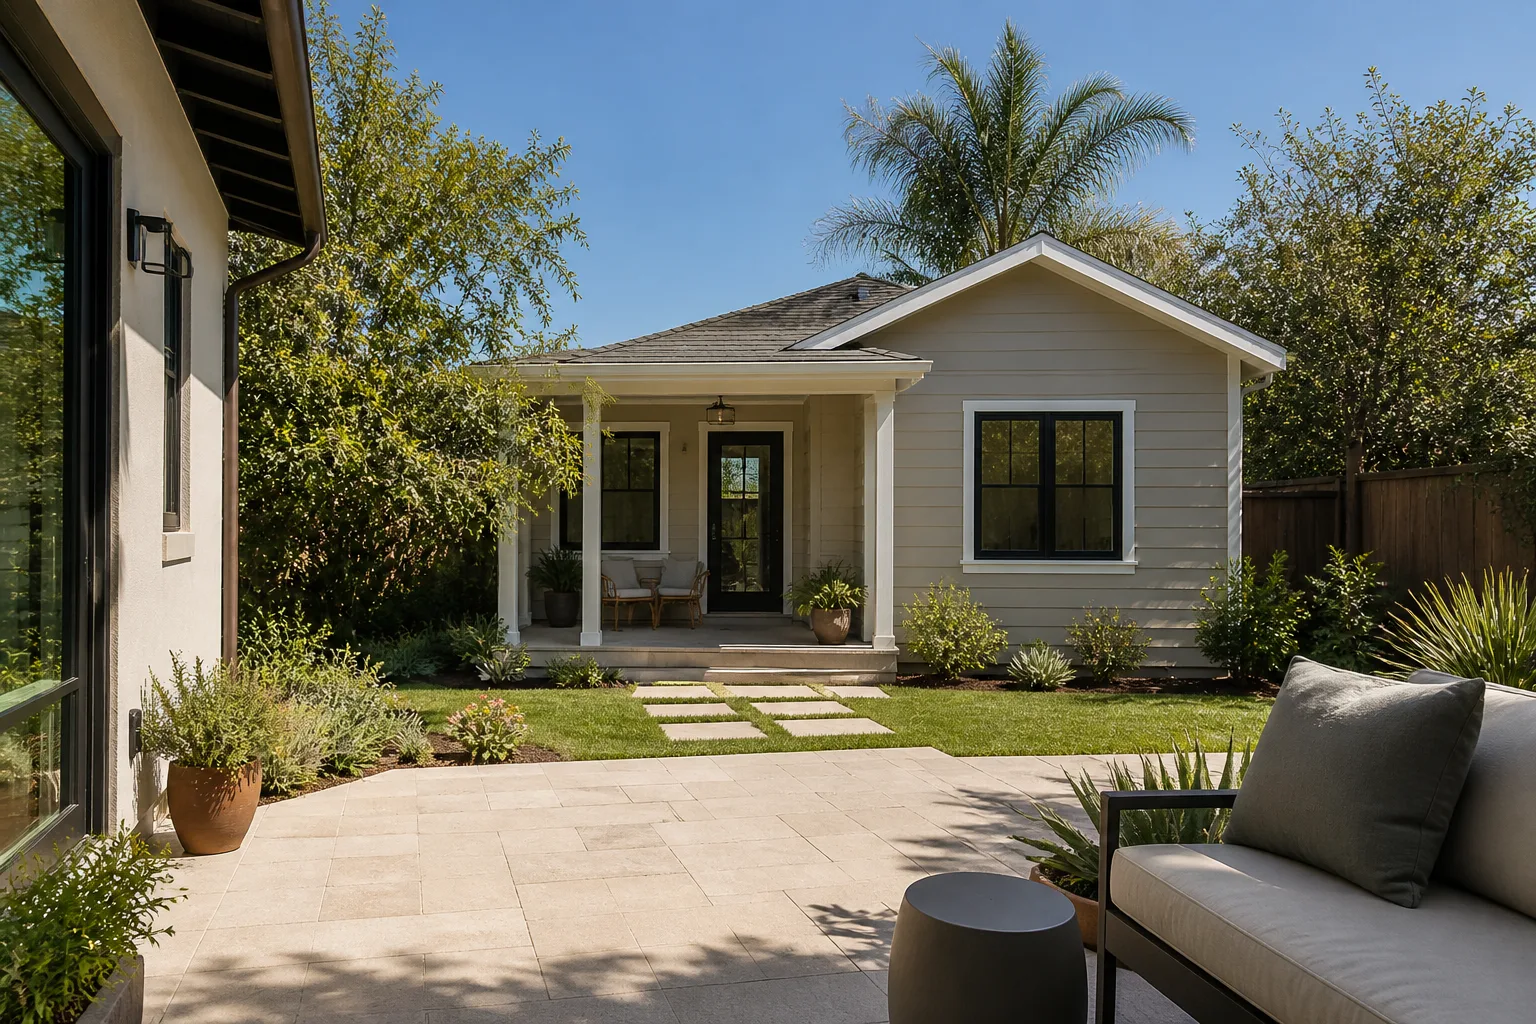
- Home additions & ADU
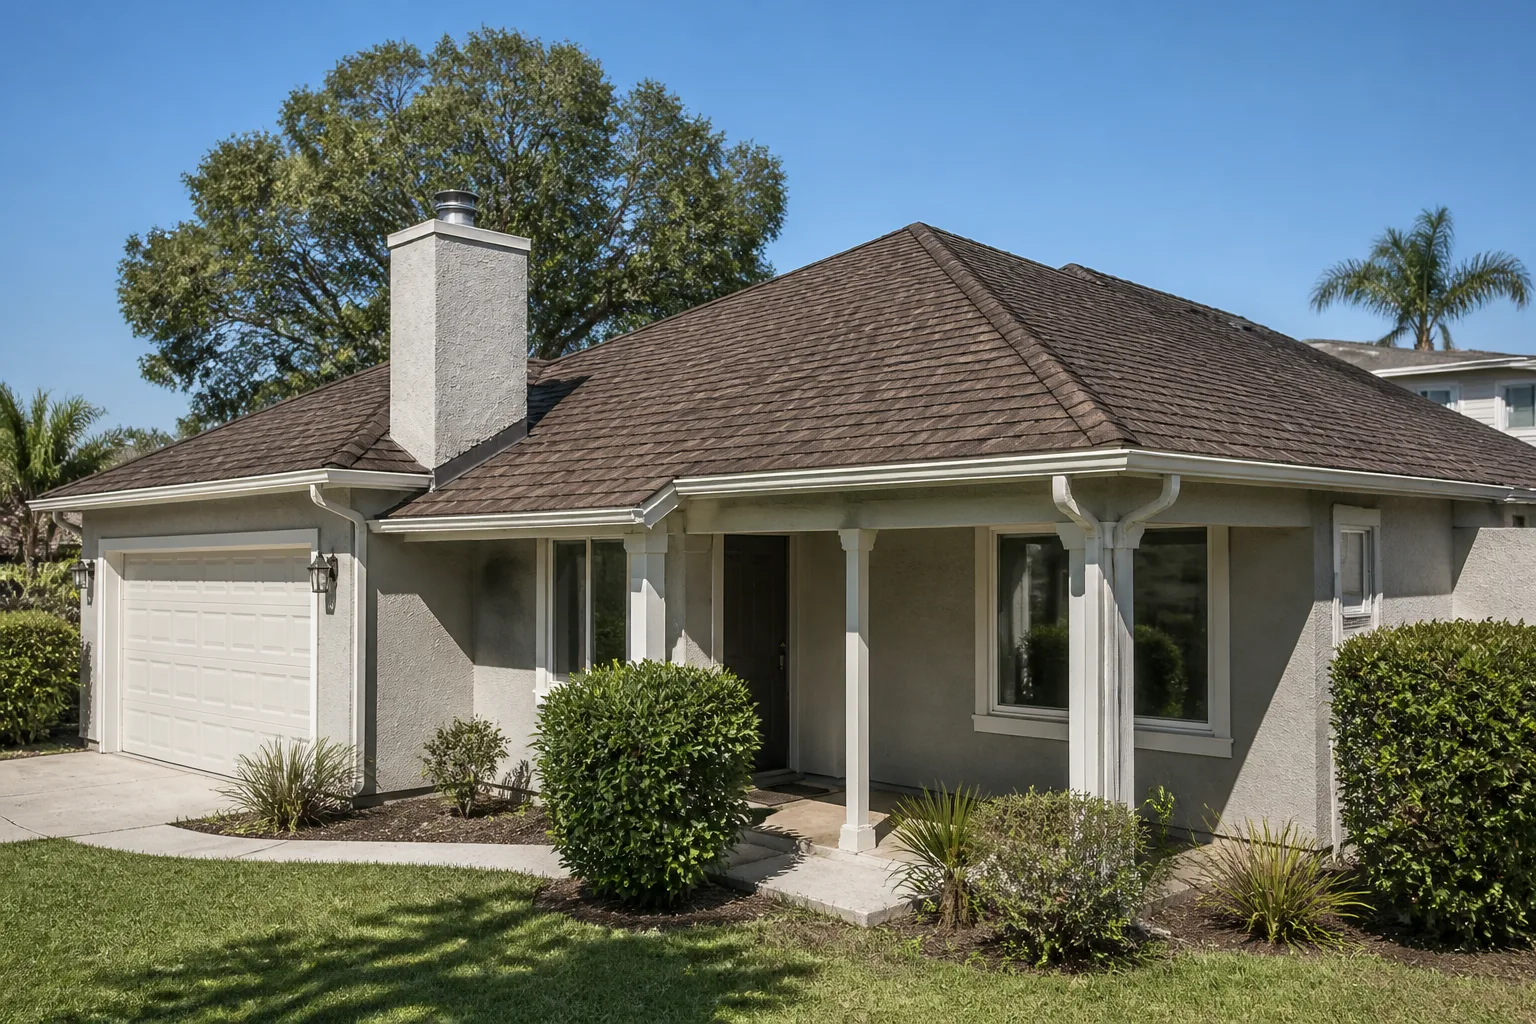
- Roofing
- Windows & doors
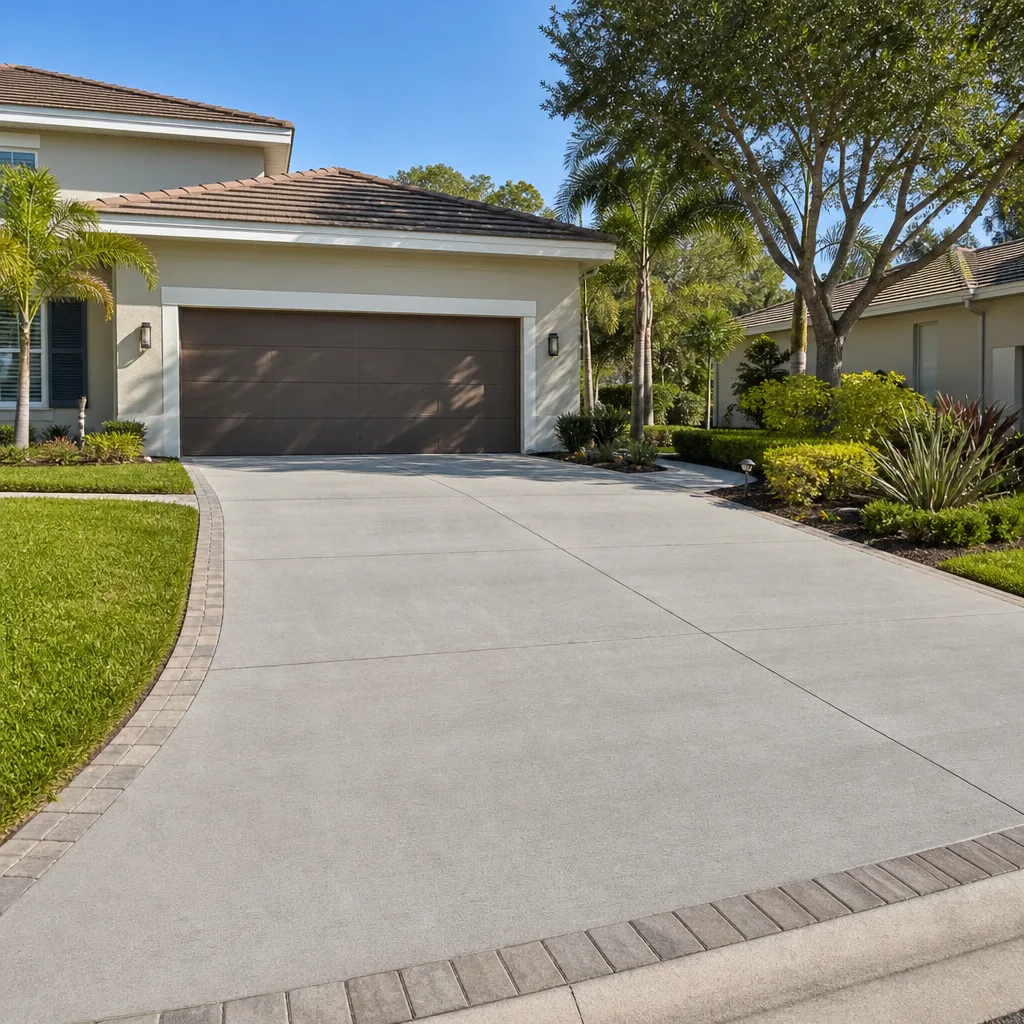
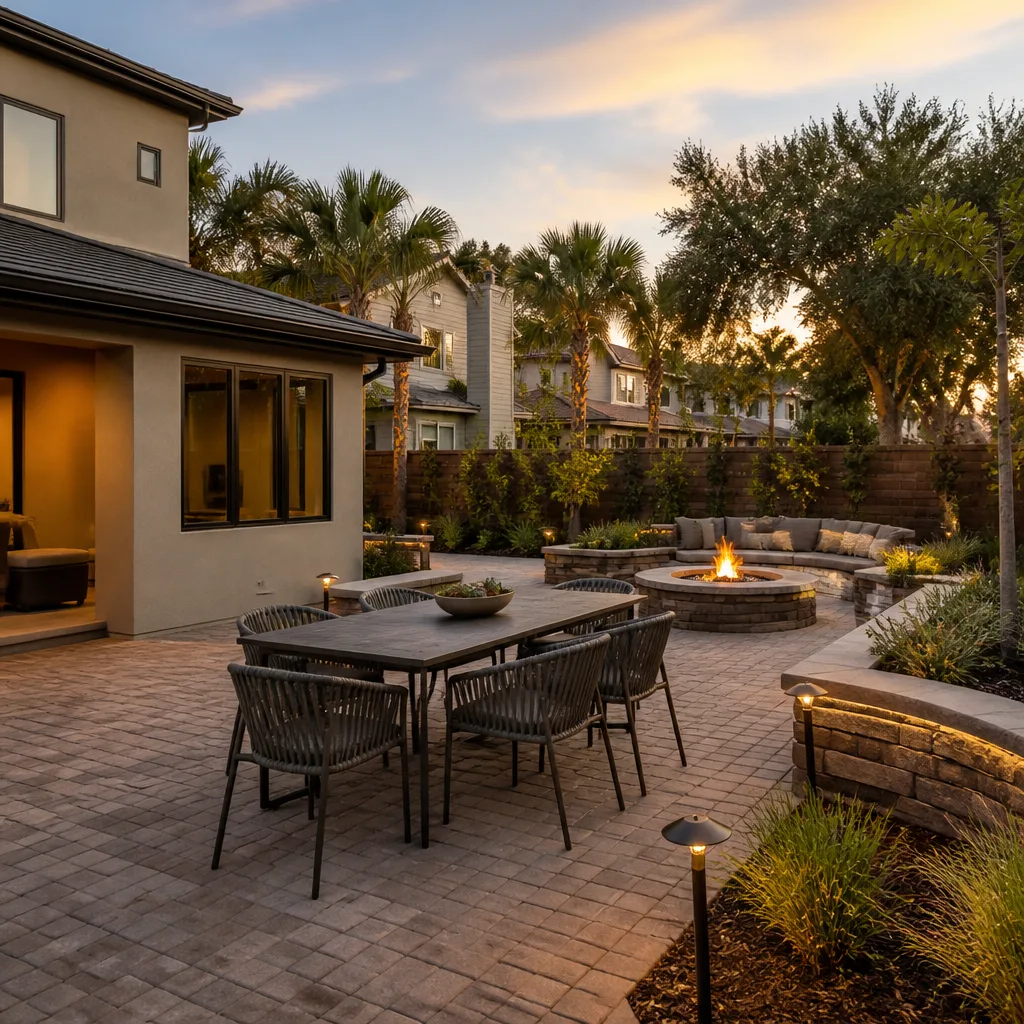
- Driveway & pavers
- Fence
Table of Contents
- Why a North Las Vegas Driveway Ages Differently
- The Monthly Walk-Around: What to Check in Ten Minutes
- Summer Prep: Sealing Before June
- Winter Tasks: Reading the Low Spots After a Freeze
- Polymeric Sand: Which Products Survive the Heat
- Spotting and Treating Efflorescence Early
- Caliche Dust, Etching, and Choosing the Right Sealer
- Re-Sanding and Re-Leveling Triggers: Touch-Up vs. Re-Bed
Why a North Las Vegas Driveway Ages Differently
A paver driveway in North Las Vegas lives through three stressors that most national maintenance guides ignore. The first is heat. Through June, July, and August, dark pavers in full afternoon sun hold surface temperatures that will cook a bare foot and steadily degrade any joint sand that wasn’t formulated for extreme UV. The second is the winter cold snap. The valley doesn’t see a long freeze, but a hard January night can push moisture in a saturated joint down into the bedding layer, where it expands and lifts a paver just enough to feel on a tire. The third is dust. Wind carries fine alkaline material off the surrounding desert and caliche-rich soil, and that grit settles into the texture of unsealed pavers, scours the surface, and leaves a chalky film that traps moisture.
Stack those together and you get a driveway that looks fine for a year and then seems to fail all at once: joints hollow out, edges spall, sand washes into the street during the first monsoon rain. None of that is inevitable. It’s a maintenance pattern, and it’s predictable once you know what you’re watching for.
Material choice at installation sets the ceiling on all of this. Designer-grade hardscape lines like Belgard and Techo-Bloc are engineered and tested for high-heat, high-UV climates, and that matters more in North Las Vegas than in a mild coastal market. Compression strength and absorption rates are part of the spec sheet, not marketing. This is why we specify the brand before the crew arrives. It’s also why, when a homeowner asks us to look at a failing driveway, our first question is almost always what went under the joints, not what happened on top of them.
The Monthly Walk-Around: What to Check in Ten Minutes
Ten minutes once a month catches nearly every problem while it’s still cheap. Do this on a cool morning, before the surface gets hot, and walk the whole driveway rather than just glancing at it from the garage.
- Sweep the full surface with a stiff broom and look at what you’re pushing. Coarse sand is normal joint loss. Fine white powder is a sign of sand breaking down. Gritty chips are edge spalling.
- Check the joint lines at the driveway apron, along the garage slab, and near any planter or lawn edge. Those are the first places sand migrates out.
- Look for puddles after a hose test. A spot that holds water for more than a few hours is a low point that’s about to become a problem, since it lets water sit against the bedding layer.
- Walk the perimeter and look at the edge restraint. Pavers at the outside edge should be locked tight. If you can wiggle one by hand, the edge has moved.
- Eyeball for color shifts. Chalky white patches mean efflorescence. Dark, damp-looking patches even in dry weather mean the sealer has failed somewhere.
- Note anything larger – a rock, a crack, a lifted paver – and take a photo with your phone. Small changes you track monthly tell you a lot more than a single inspection ever will.
For most North Las Vegas homes that haven’t been re-sanded in a while, the first month’s walk-around is where the picture becomes clear. If you’re seeing broad sand loss across the whole driveway rather than in a few joints, it’s time to plan a re-sand rather than spot-fill.
Summer Prep: Sealing Before June
If your driveway needs a fresh sealer, the window is late spring, before the first sustained heat. Sealer applied to a hard, hot, sun-baked surface in July cures unevenly, dries too fast at the edges, and won’t penetrate the way it should. Get it down in the cooler weeks before June and it has time to cure properly and lock in a full summer of protection.
Here’s the sequence we use when we’re sealing North Las Vegas driveways:
- Clean first, always. Pressure-wash at a moderate setting, not full blast, which can drive sand out of the joints. Let the surface dry for at least a full day.
- Re-sand before sealing, not after. A sealer applied over hollow joints does nothing useful in those joints. Fill them, compact, and let the sand set before the sealer goes on.
- Choose a UV-stable sealer made for high-temperature exposure. In our experience, a film-former that works in a mild climate will yellow or haze here within a season or two.
- Apply in two thin coats, not one heavy one. Thin coats cure more evenly and don’t trap moisture. A heavy single coat is a common cause of the milky look homeowners complain about after a summer.
- Keep traffic off for the manufacturer’s stated cure time. That’s the part nobody likes, but it’s also the part that decides how the next two years go.
Once summer arrives, the maintenance shifts to simple preservation: sweep weekly during wind events, rinse off dust that settles, and don’t park a hot vehicle on the same spot every day without moving it. Brake fluid and oil are hard on sealer, and a single drip left sitting in July heat can leave a permanent mark.
Winter Tasks: Reading the Low Spots After a Freeze
North Las Vegas gets the occasional hard freeze in January, and the pattern afterward is usually the same. Water collected in a low spot or a washed-out joint, the freeze pushed it upward, and now a paver sits a few millimeters proud of its neighbors. You may not see it, but you’ll feel it walking across or hear it when a tire rolls over it. The next morning walk-around is the important one.
- Walk every square foot after a hard freeze night and feel for rocking pavers or a subtle ridge along a joint line.
- Check the low spots first. Any place that held water in the fall is where frost movement shows up.
- Look at the sand lines. A joint that’s suddenly empty after a wet, cold stretch is telling you the sand washed out before the freeze and the bedding shifted.
- Note any paver that lifted but hasn’t broken. The fix is usually a reset with fresh sand and compaction, not a replacement, if it’s caught early.
Winter is also the best time to plan the spring work. If you’re already thinking about the finished surface, this is the season to price out the driveway and compare paver systems from brands like Belgard and Techo-Bloc, since there’s no rush and no summer heat to work around. For a broader look at how we approach driveway & pavers, that’s the place to start.
One more winter check: after a cold spell, walk your property line. The edge restraint and whatever borders the driveway – a fence footing, planting bed, or lawn – can move with the soil. If you notice a fence section loosening at the same time, it may be a soil moisture issue worth looking at alongside a fence installation or repair.
Polymeric Sand: Which Products Survive the Heat
The bag of polymeric sand on the shelf at the box store is usually not the bag that belongs in a North Las Vegas driveway. Generic and budget polymeric sands often rely on binders that break down under sustained high heat and UV, and what you see is a powdery, crumbly joint by the end of the second summer. The good news is that the products that hold up are well known: Techniseal and Alliance Gator both make polymeric sand systems designed for high-temperature, high-UV environments, and those are the names to look for on the bag.
What separates a product that survives here from one that fails:
- UV-stable binder chemistry. The heat load on a paver driveway here is higher than most of the country, and the sand needs to be formulated for it.
- Correct gradation for the joint width. Sand that’s too fine washes out. Too coarse and it never seats properly, so it can’t lock the pavers.
- Proper activation. Polymeric sand sets when it’s activated with the right amount of water, at the right moment, with the surface wet but the joint not saturated. Too much water and it foams out; too little and it never cures.
A correctly installed Techniseal or Alliance Gator joint in North Las Vegas should give multiple seasons before it needs a top-up. When we re-sand a driveway, that’s what we’re installing, and it’s the reason we’ll tell a homeowner to wait a week for the right product rather than use whatever’s on hand. Manufacturers put a recommended life on the bag, but the real test is what the joint looks like after the first full summer. If yours is dusting out or cracking in long lines, the sand wasn’t up to the climate.
Spotting and Treating Efflorescence Early
Efflorescence is that chalky white haze that shows up on concrete pavers, usually in irregular patches or along the joints. It’s a salt deposit left behind when moisture moves up through the paver and evaporates at the surface. It’s harmless, it’s not a sign the driveway is failing, and it’s usually temporary – but if it’s left alone in a dusty, high-UV environment, it can bind with surface dirt and settle into the pores, which is when it turns into permanent staining.
Here’s how to tell where you stand:
- New haze on a dry day after a wet spell: normal efflorescence. It should weather away with rain and a few dry weeks.
- White haze that returns after every rain but disappears after a good drying stretch: still efflorescence, but the source moisture is ongoing. Check for irrigation overspray or drainage running onto the pavers.
- White haze that doesn’t disappear and darkens with dust: this is the point where treatment is urgent. A dedicated efflorescence cleaner, not a pressure washer, is the tool, and a stiff broom and water can make it worse by driving the salts deeper.
- White haze that’s concentrated at the base of a wall or near downspouts: the moisture source is more important than the haze. Fix the source or it comes back.
For North Las Vegas homeowners, efflorescence is often seasonal, showing up after winter storms or an overwatered planter. Left through a dry summer, it can bake into a stain. If you’re seeing it along the driveway edge nearest a planter bed, that planter is usually the source. Fix the irrigation first, clean the surface second, and only seal once the efflorescence has stopped – sealing over active efflorescence traps the salts inside and makes it worse.
Caliche Dust, Etching, and Choosing the Right Sealer
Anyone who has lived in North Las Vegas for a few years knows the wind. When it blows, it lifts fine alkaline dust – the same caliche-based material that runs through the soil here – and that dust does two things to an unsealed driveway. It settles into the surface texture and scours it a little each time you sweep or drive over it. And when moisture comes, that alkaline grit goes into solution and etches the calcium in the concrete pavers, leaving a dull, slightly rough patch where the surface used to be dense and sealed.
Sealing is the countermeasure, but not any sealer. Here’s what we look for in a high-UV environment:
- UV-stable chemistry. A sealer that breaks down in ultraviolet light is worse than nothing, because it can haze, yellow, or flake unevenly.
- Breathable, penetrating or thin-film. A film that’s too thick traps moisture and can fail in sheets. A penetrating sealer or a thin film-former moves with the surface as it expands and contracts in the heat.
- Matte or low-sheen. High-gloss sealer on a hot driveway gets slippery and shows every scuff mark. Matte reads cleaner in this climate.
In our experience, a properly specified sealer on a paver driveway in North Las Vegas should be reapplied every two to three years, with touch-ups along the sun-exposed or wind-exposed sections more often. If a sealer was applied too thick or was the wrong type, it may need to be stripped before the correct one goes on. That’s a job worth doing once, correctly, rather than layering another coat over a failing film.
Re-Sanding and Re-Leveling Triggers: Touch-Up vs. Re-Bed
There’s a clear difference between a driveway that needs a touch-up and one that needs to be taken apart, re-leveled, and re-bedded. The mistake we see most often is a homeowner doing touch-up work on a driveway that actually needs the second thing, then wondering why the problem returns every year.
Touch-up territory (a homeowner-appropriate task, or a small professional job):
- A few isolated joints that have washed out after a heavy rain
- Sand loss along the edge restraint or at the driveway apron, but the pavers themselves are tight
- Individual pavers that need re-sanding but not re-setting
- Slight sand haze on the surface after a wind event, but no loose pavers
Re-bed territory (a professional job):
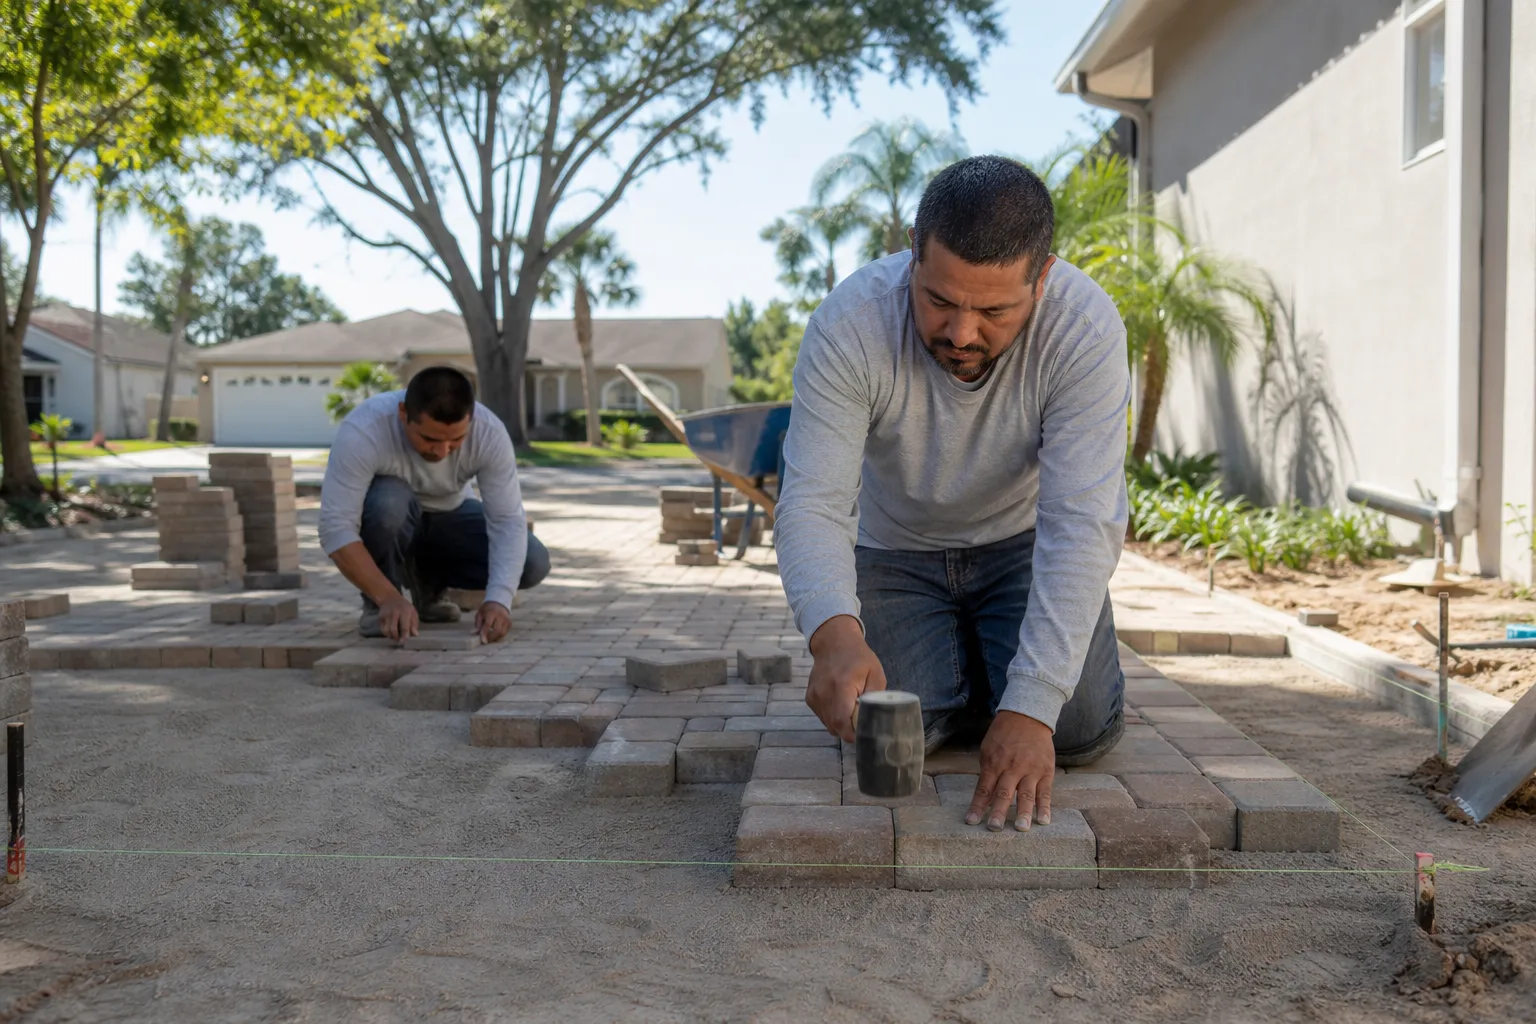
- A section of pavers rocking underfoot, not just one
- Visible settlement – a dip that holds water more than a day after rain
- Sand that has washed out across a whole area rather than in spots
- Edge restraint that has pulled away from the pavers or shifted
- Any paver that has lifted, tilted, or separated from the field
When you’re in re-bed territory, the work is pull up the affected section, correct the base, re-compact, re-bed with fresh sand, and re-set the pavers with the correct polymeric product. Doing it right the first time is what saves you from doing it again next spring. If the base wasn’t right to begin with – too thin, not compacted, or set over poorly graded soil – even the best top coat of sand won’t hold it.
If your property has a larger grading or drainage problem that keeps pushing water against the driveway, that’s a scope of work worth looking at holistically. Projects like home additions & ADU work often touch the drainage plan for the whole lot, and it’s worth coordinating the driveway fix with the rest of the site plan when they overlap.
Common Mistakes to Avoid
- Using generic polymeric sand and hoping for the best. Budget sand in a North Las Vegas driveway tends to fail by the second summer. Specify Techniseal or Alliance Gator and pay for it once.
- Sealing a hot surface in the middle of summer. Sealer applied in July cures unevenly and doesn’t penetrate. Late spring, before June, is the right window.
- Sealing over active efflorescence. It traps the salts under the film and makes the stain permanent. Clean it out first, and don’t seal until it’s stopped.
- Power-washing at full blast. It drives sand out of the joints and can pit the pavers. A moderate pressure wash plus a stiff broom does the job.
- Ignoring a single rocking paver after a January freeze. That’s the first sign of bedding failure, and it’s much cheaper to fix one area than the whole section three months later.
- Skipping the perimeter walk. Edge restraint movement, weed growth under the edge, and drainage away from the driveway don’t show up in the middle of the field. Walk the outside every month.
- Layering a new sealer over a failing film. It looks fine for a few weeks, then peels in sheets. If the old sealer is hazing or flaking, strip it before applying a new one.
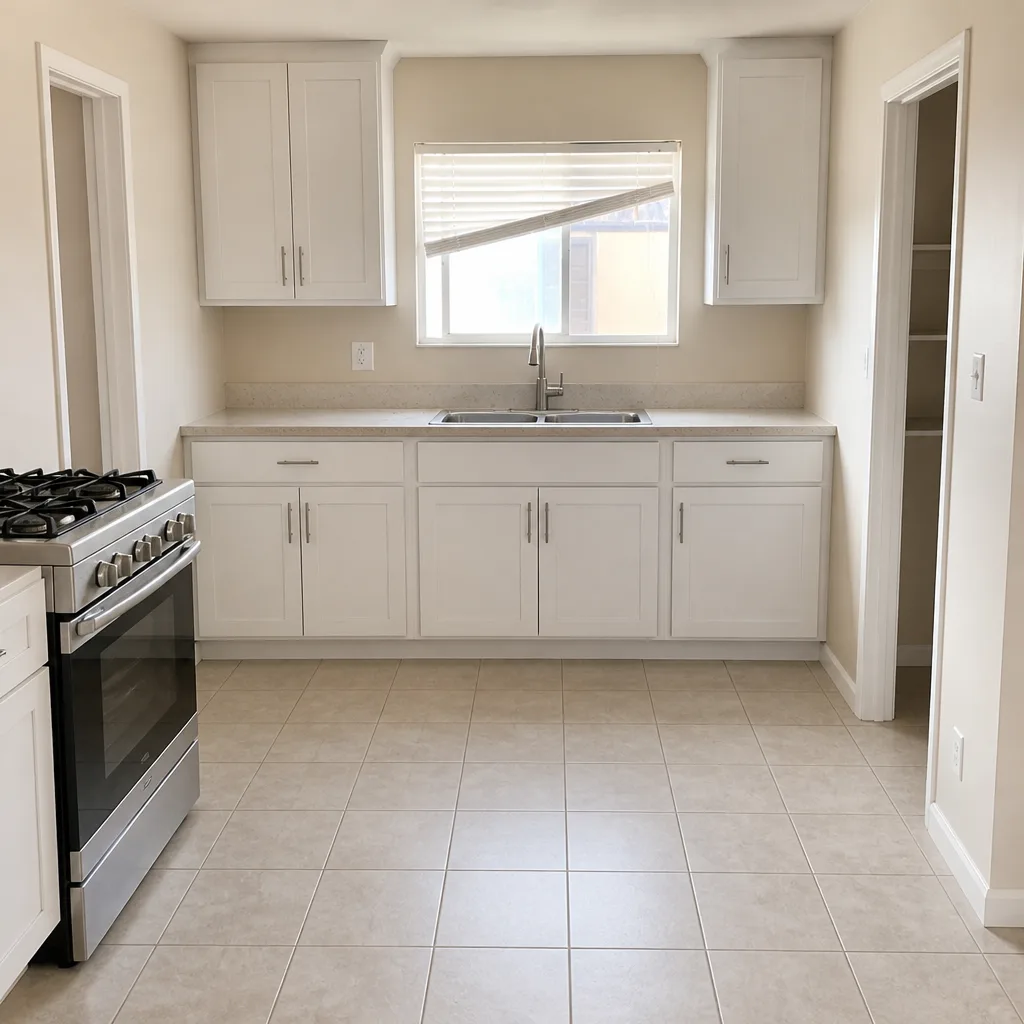
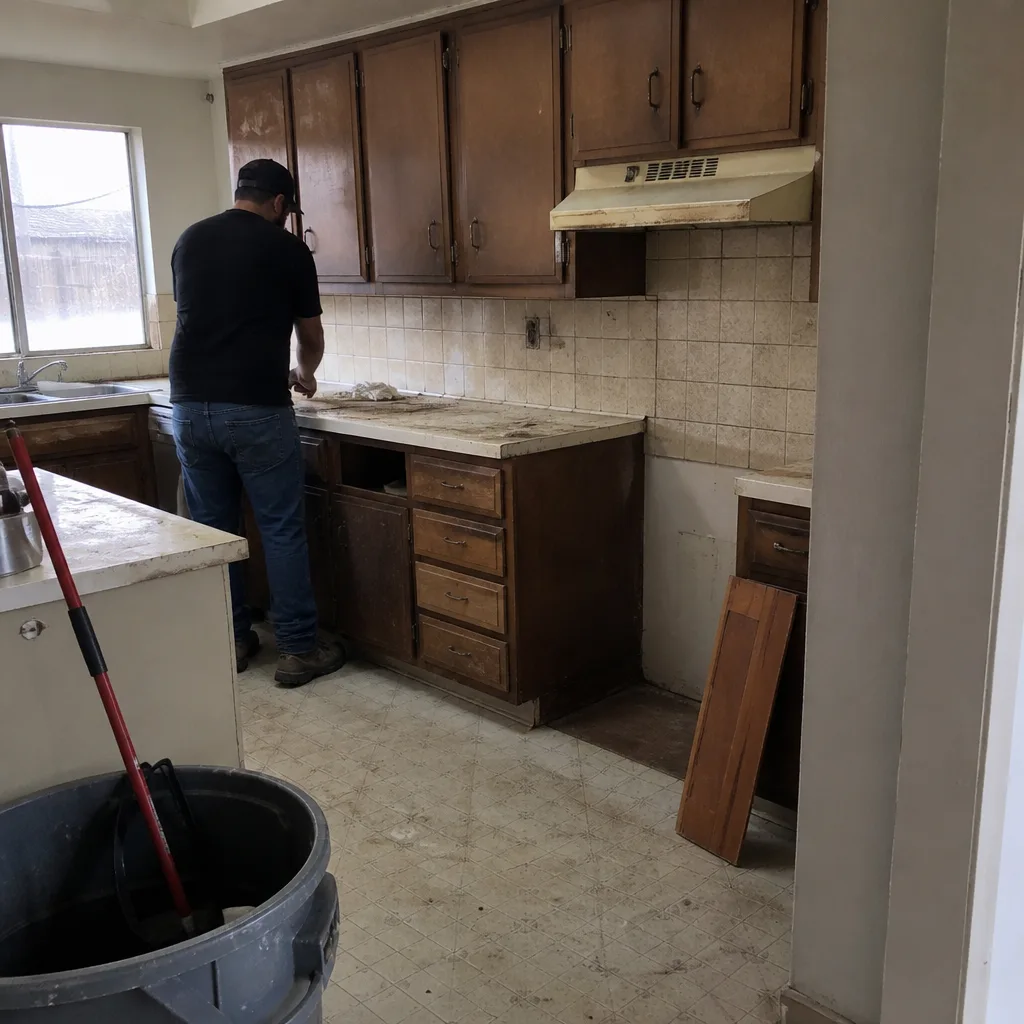
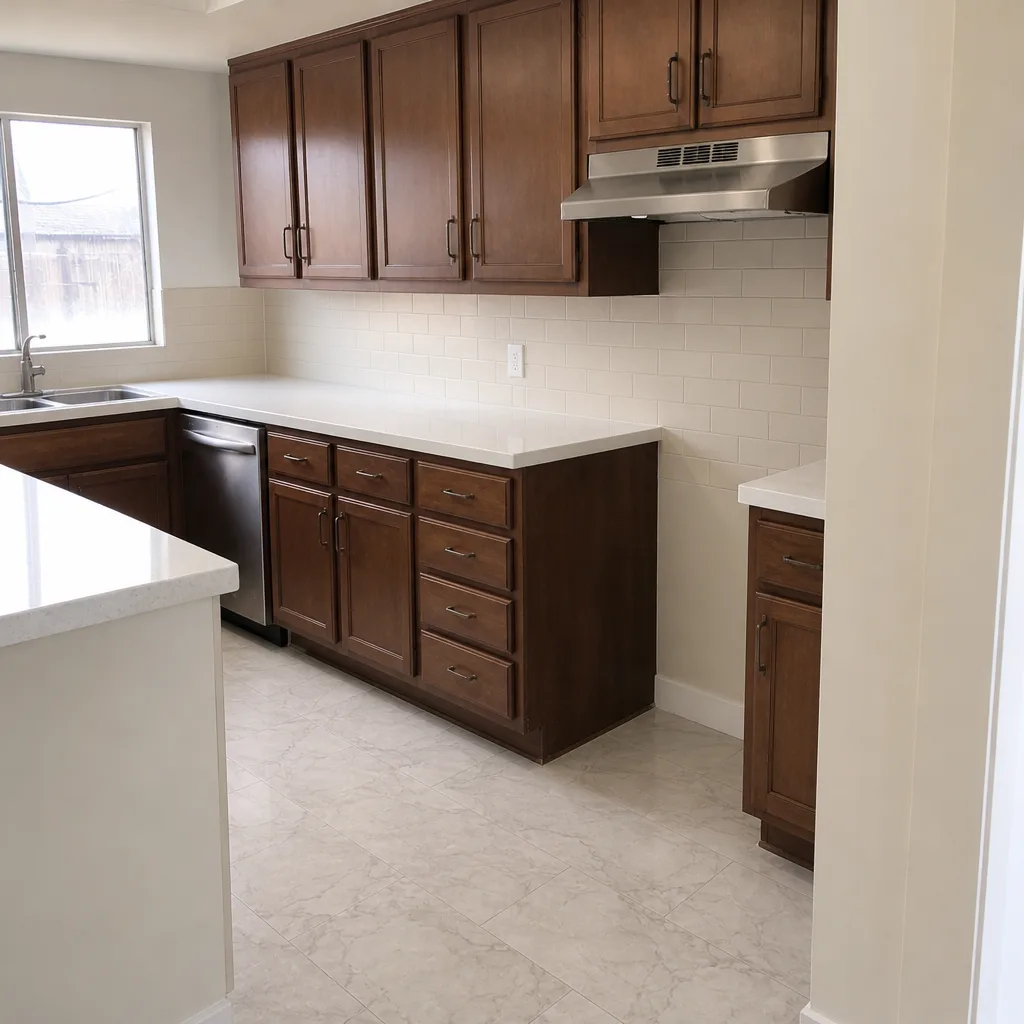
See the difference
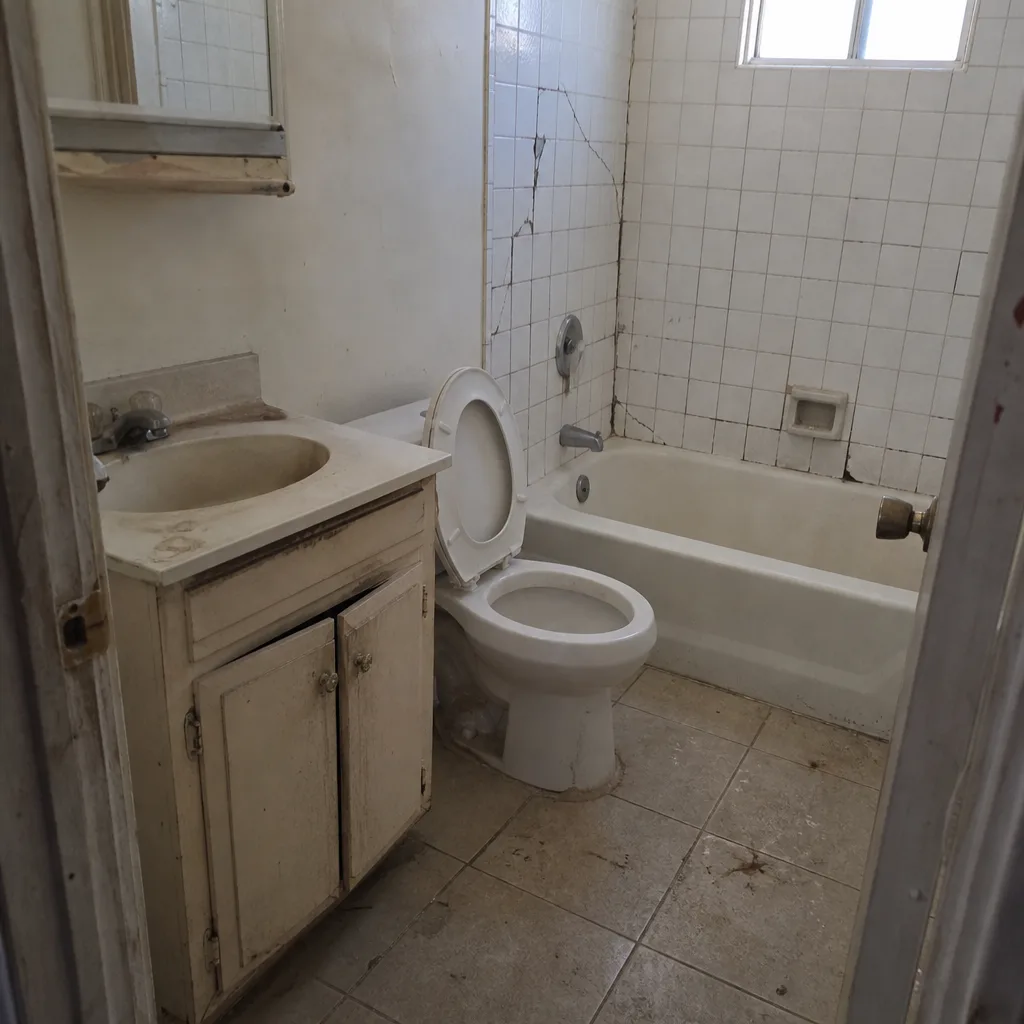 Before
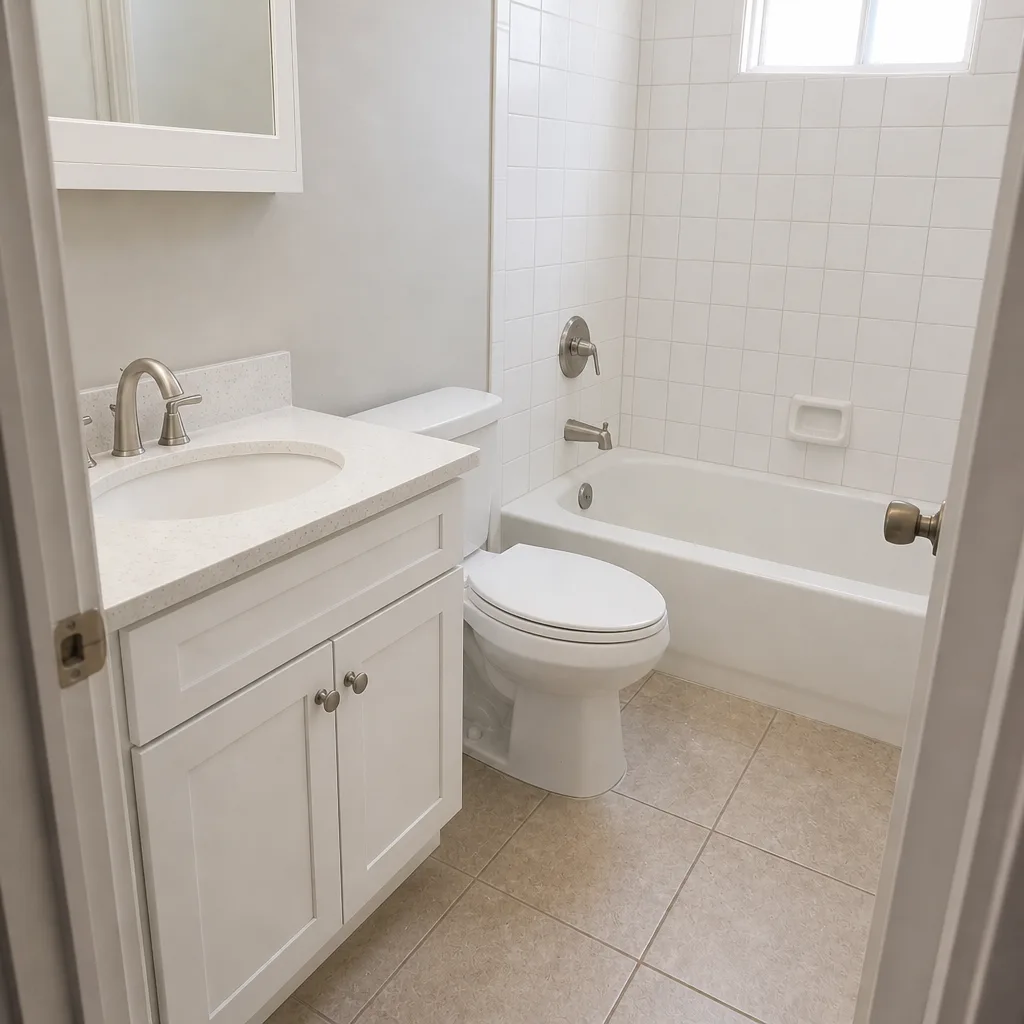 After
 Before
 After
 Before
 After
When to Call a Professional
Call a professional when any section of pavers rocks underfoot, when a low spot holds water more than a day after rain, when the edge restraint has moved, when efflorescence keeps returning after treatment, or when the whole driveway needs a full re-sand and reseal at the same time. Those jobs are past touch-up. Doing them wrong costs more than doing them right once.
Our technicians have up to 11 years of experience across driveways, pavers, and the rest of the property envelope, and we work from a curated set of name-brand lines so the material is specified before anyone arrives. We also handle the rest of the lot if the driveway issue is really a drainage or grading issue: paving, fences, roofing, windows, doors, and the structure itself. One contractor for the whole property means one schedule and one point of accountability. North Las Vegas Construction offers free estimates in North Las Vegas – call (833) 734-2032 to set one up.
Frequently Asked Questions
Every two to three years in most North Las Vegas driveways, with touch-ups on sun- and wind-exposed sections more often. The high summer heat and blowing dust break down a sealer faster here than in a mild climate. If the surface starts looking dull or the water stops beading, that’s the cue to plan a reseal – late spring is the best window. Call (833) 734-2032 for a free estimate if you’re not sure where your driveway stands.
Techniseal and Alliance Gator are the two product systems we trust in this climate. Both are formulated for high-temperature, high-UV exposure, and both hold their joint through multiple summers when installed correctly. Generic and budget polymeric sands often powder out by the second summer. The product on the bag matters more than the thickness of the joint. Call (833) 734-2032 to talk through a re-sand, and the estimate is free.
Usually no – that’s efflorescence, a harmless salt deposit, and it typically weathers away. It becomes a problem when it keeps returning after rain or darkens with dust, because then it can bind into the surface and turn permanent. Don’t seal over active efflorescence. Clean it with a dedicated efflorescence cleaner, not a pressure washer, and address the moisture source. Call (833) 734-2032 if it keeps coming back.
For a couple of isolated joints, yes, and it’s a reasonable Saturday-morning job. For a full re-sand across a driveway, or any area with rocking pavers or a low spot, no – that’s re-bed work, and doing it without pulling up the affected section just pushes the problem into next season. The compaction and base work is where DIY re-sand jobs usually fall apart. Call (833) 734-2032 for a free estimate on the scope that’s actually needed.
Walk the whole driveway and feel for rocking pavers or a raised joint line, starting with any low spot that held water in the fall. A single hard freeze can lift a paver a few millimeters, and if it goes unnoticed, the bedding shifts and the problem spreads. Note what moved, and get it looked at before the summer heat. Call (833) 734-2032. We answer 24/7 and fast dispatch runs 7am to 7pm, Sunday through Friday.
That’s usually the fine alkaline caliche dust that blows through the valley, going into solution with moisture and etching the surface of unsealed pavers. It doesn’t mean the driveway is failing, but it does mean the sealer has aged out or was never applied. A UV-stable, breathable sealer restores the surface and helps it shed dust going forward. Call (833) 734-2032 for a free estimate on a proper clean and reseal.
The Bottom Line
A North Las Vegas driveway doesn’t live in the same climate as the maintenance checklist you’ll find online. Plan around extreme summer heat, a hard January freeze, and year-round caliche dust. Sweep and walk the perimeter monthly, reseal before June on a two- to three-year cycle, specify a UV-stable polymeric sand like Techniseal or Alliance Gator, treat efflorescence early, and recognize the difference between a touch-up job and a re-bed job. Those habits protect the investment and keep the driveway reading like a finished surface, not a project waiting on a fix. When the scope is bigger than a touch-up, that’s the moment to bring the work to someone who specifies the materials and handles the full property envelope. Call (833) 734-2032. We answer 24/7, with fast dispatch from 7am to 7pm, Sunday through Friday.
For a wider look at how we approach the whole property – including the roof overhead, backed by manufacturers like GAF, CertainTeed, Owens Corning, and IKO – start with North Las Vegas Construction.
Written by the team at North Las Vegas Construction.